replacing a hard drive PCB

Hard Drive PCB Replacement: A Step-by-Step Technical Guide

If your hard drive suddenly stops working, makes clicking sounds, or no longer spins up, the issue could be with the PCB (Printed Circuit Board). In many cases, the solution is not buying a new hard drive, but replacing the PCB with a compatible one.

bast hdd donor for donor drive head match donor pcb only donor with matching firmware head crash clicking noise click of death no spin not powering up slow response seagate wd toshiba www.hdddonor.in

This guide will walk you through the safe and proper way to replace a hard drive PCB, especially for beginners who want to attempt basic hard drive repair without damaging the drive further.

We’ll also cover:
🔍 Signs of a bad PCB
🔁 How to match a compatible donor PCB
🧠 Importance of ROM chip transfer
❌ Common mistakes to avoid

💡 For quality donor PCBs, tools, and expert help, visit 👉 HDD Donor

🔍 What Is a Hard Drive PCB and Why Does It Matter?

The PCB (Printed Circuit Board) is the brain of your hard drive—it controls:
⚡ Power distribution
🔌 Communication with your computer
💽 Internal components like the motor and read/write heads

If your hard drive:
🚫 Doesn’t power on
🛑 Makes a ticking or buzzing sound
🔥 Shows visible signs of burn or component damage
❓ Is not detected in BIOS or Disk Management

…then the issue may be electrical and caused by a damaged PCB.

✅ Replacing the PCB—with the correct part—can often revive the drive and restore access to the stored data.

⚠️ Important Note About Data Access

Simply replacing the PCB will not automatically allow you to access your files.

replace donor drive pcb donor matching firmware head crash click of death disk fail no spin not powering up cleanroom lab seagate wd toshiba www.hdddonor.in

Modern hard drives (especially from Western Digital, Seagate, Toshiba, Hitachi) contain unique ROM or NVRAM data on the PCB that must match your original drive.

✅ To make the new PCB work correctly:
👉 The ROM chip from the original board must be transferred to the donor PCB.

🔁 This step is critical for successful data access and compatibility.

🧰 Tools You’ll Need

🔩 Compatible donor PCB (from matching drive)
🪛 Small precision screwdriver set
🔥 Soldering iron or hot air rework station
🧲 Tweezers and anti-static gloves or mat
🔍 Magnification tools (optional but helpful)
🧘 Patience and a clean workspace

✅ Step-by-Step Guide: How to Replace a Hard Drive PCB Safely

replace donor drive pcb donor matching firmware head crash disk fail no spin not powering up cleanroom lab seagate wd toshiba professional hdd donor provider www.hdddonor.in

🛠️ Step 1: Identify the Fault

⚙️ The drive doesn’t spin up
👃 You smell burnt electronics
❌ It’s not recognized by your system at all

🔎 Visually inspect the PCB for:
🔥 Burn marks
🧱 Damaged components
📛 Bulging chips

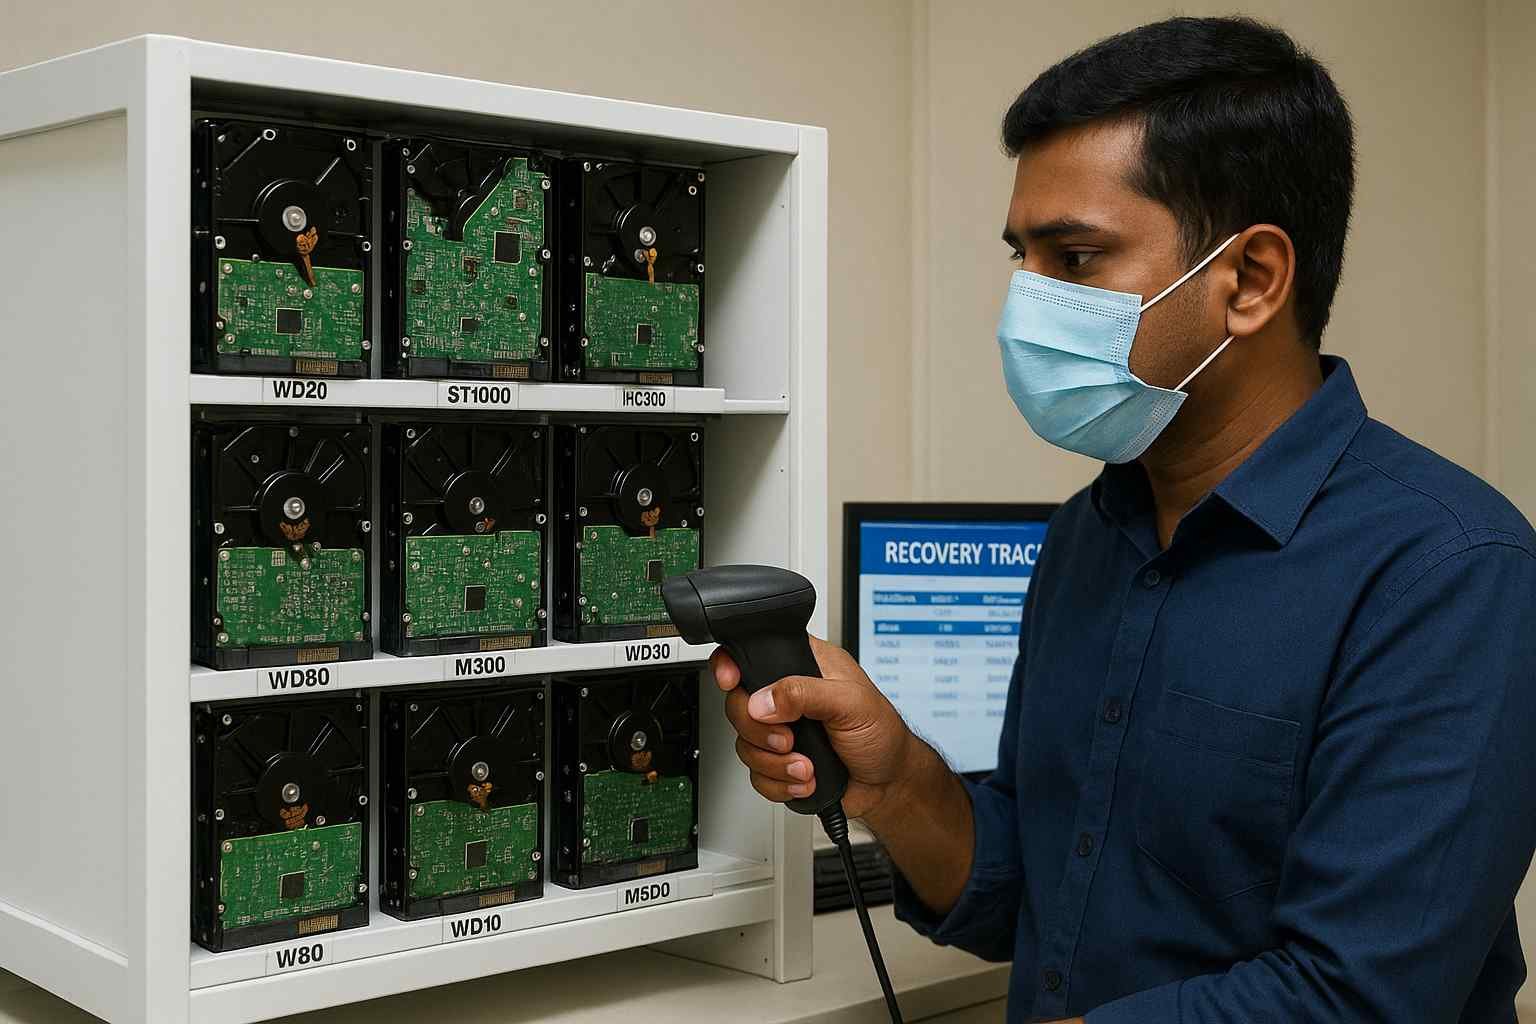
🔍 Step 2: Find a Matching Donor PCB

To avoid damaging the drive or losing data permanently, the donor PCB must match the original exactly.

Here’s what you need to match:

📌 What to Match

📍 Where to Find It

📄 Full model number

Printed on the HDD label

🧾 PCB board number

Etched on the PCB itself

🔤 Firmware version

Listed on the drive label

📅 Date code or DCM (WD)

Label or barcode

🔌 Interface type (SATA/IDE)

Label & physical port

✅ Find pre-tested PCBs at 👉 HDD Donor, categorized by model and firmware for compatibility.

🧰 Step 3: Remove the Original PCB

🔌 Disconnect the drive from power and safely discharge static.
🪛 Use a precision screwdriver to unscrew the PCB.
🧲 Carefully lift the board away without damaging the connector pins.

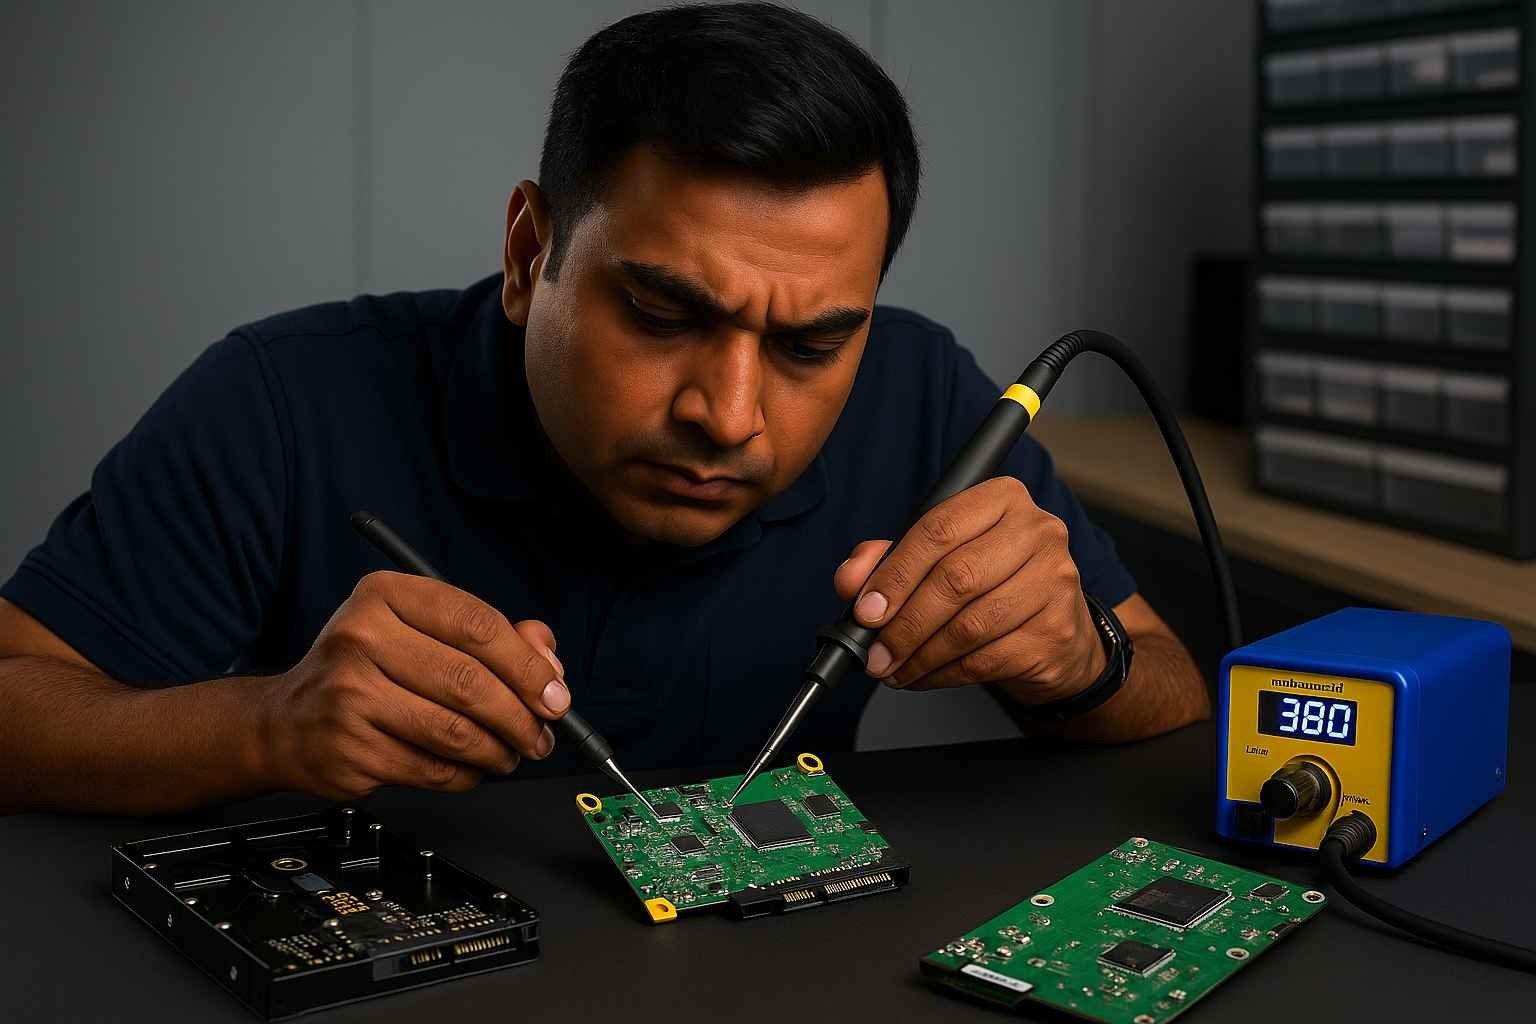
🧠 Step 4: Transfer the ROM Chip

Locate the small 8-pin chip marked U12, U14, or 25xxx (varies by brand). This contains drive-specific calibration data.

🔥 Use a soldering tool or hot air rework station to carefully remove the ROM chip from the original PCB.
🔧 Solder the ROM onto the donor PCB in the exact same orientation.
🔍 Double-check the alignment and solder joints to avoid short circuits.

💡 Not comfortable with soldering?
👉 You can order a donor PCB with ROM transfer service from: HDD Donor

🔩 Step 5: Install the New PCB

🧲 Gently attach the donor PCB (now with the original ROM) to the hard drive body.
🪛 Secure it using the original screws.
🔌 Reconnect the hard drive to your system and power it on.

🔁 What to Expect After Replacement

⚡ The drive should spin up and remain stable.
🧠 It may now be detected by your system’s BIOS.
💾 You can begin safely recovering your files.

If not:
🔄 Double-check the ROM chip transfer
🔍 Ensure the board is an exact match
⚠️ Inspect for short circuits or soldering errors

❌ Common Mistakes to Avoid

⚠️ Mistake

🔥 Risk

Using an unmatched donor PCB

❌ May damage the drive or prevent access

Skipping the ROM chip transfer

🔄 Drive will spin but won’t read data

Touching board without static protection

⚡ Could fry the board

Poor soldering or reversed ROM orientation

🧨 Can short or brick the PCB

📦 Where to Buy Compatible Donor PCBs

Getting the correct PCB is the most important part of this process.

✅ At 👉 HDD Donor, you’ll find:
📋 Tested donor PCBs for all major brands
🔍 Clear model/firmware matching
🧠 ROM chip programming & transfer services
🌐 Shipping across India and worldwide

Whether you’re working with WD, Seagate, Toshiba, or Hitachi, they provide the tools and parts you need to recover your drive safely.

🧠 Conclusion

Replacing a hard drive PCB is a cost-effective way to fix a non-spinning or dead HDD—but only when done correctly.

✅ Matching the right donor PCB
✅ Transferring the original ROM chip
✅ Working carefully and patiently

…can make the difference between successful recovery and permanent data loss.

If you’re unsure about compatibility or don’t have the tools to solder the ROM, buying a pre-programmed donor PCB from a trusted provider like HDD Donor is the safest route.

Recovering Data Through Electronic Board Replacement

When a hard drive suddenly stops spinning, smells of burnt electronics, or fails to be detected by the BIOS after a power surge, the culprit is often a failed Printed Circuit Board (PCB). Replacing a faulty board is a standard procedure in the data recovery industry, but it is no longer as simple as a direct “plug-and-play” swap. At HDD Donor, we specialize in providing exact-match donor PCBs that serve as the foundation for these repairs. The most critical factor in a successful replacement is the Board Number, typically etched directly onto the green or blue fiberglass of the PCB. Matching the drive model alone is insufficient; the circuit architecture must be an identical match to ensure electrical compatibility.

However, modern hard drive PCBs are not just power controllers—they are the “brain” of the drive, containing unique adaptive parameters stored in a dedicated ROM chip. These adaptives include specific head alignment data and servo calibrations unique to your specific set of platters. Without transferring the original ROM chip (or its contents) to the healthy donor board, the drive will likely spin up but fail to initialize, often resulting in a clicking sound. This guide walks you through the process of identifying the correct donor board, performing the necessary firmware transfer, and safely reassembling the drive. By following these professional protocols, technicians in India can resolve “dead” drive issues and move forward with a successful bit-by-bit data clone.

Frequently Asked Questions: HDD PCB Swapping

The board number is usually etched on the PCB itself (e.g., “2060-771961” for WD or “100717520” for Seagate). It is not the same as the model number on the drive’s front label.

In 99% of cases, it is because the ROM chip was not transferred. Modern drives require the original “adaptive data” from your old board to read the platters.

Rarely. A clicking sound usually indicates internal mechanical damage (head failure). A PCB swap is intended for drives that are dead, silent, or have visible electrical damage.

Yes, unless you use a professional firmware tool to read and write the ROM via the SATA port. Most technicians physically move the 8-pin ROM chip using a hot air station.

Yes. Every donor board in our inventory undergoes electrical testing to ensure all components and the motor controller are fully functional before shipping.

Some newer Western Digital drives integrate the ROM into the main MCU (the large central chip). In these cases, professional tools like PC-3000 are required to regenerate the firmware.

Yes. The encryption keys are typically handled by the firmware. As long as you transfer the original ROM chip, the encryption remains intact and the data stays accessible.

Leave a Comment

Your email address will not be published. Required fields are marked *

Select your currency
USD United States (US) dollar