
When your hard drive suddenly dies and precious data becomes inaccessible, panic often sets in. Among DIY data recovery enthusiasts, one of the most talked-about methods is swapping the hard drive’s PCB (Printed Circuit Board). But should you really try this method yourself? In this guide, we’ll break down the process, benefits, risks and the latest trends—so you can make an informed decision.

🔧 What Is a Hard Drive PCB?
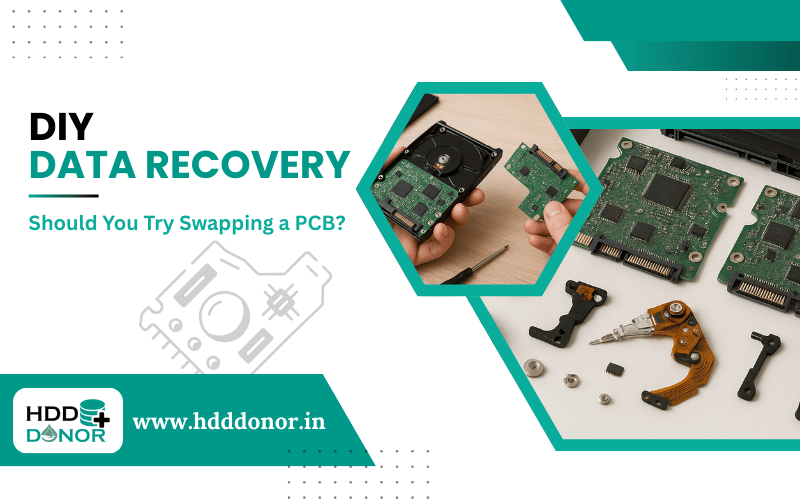
The PCB is the green (or blue) board attached to the underside of your hard drive. It acts as the controller, managing power, data read/write functions and communication with your computer.
When the PCB fails due to power surge, heat, or short-circuiting, the drive may appear dead—even though the data stored on the platters is still intact.
⚠️ Common Signs of a PCB Failure
Before attempting a swap, rule out these symptoms:

🔹 Hard drive is completely dead (no sound, no spinning)
🔹 Visible burn marks or scorch spots on the PCB
🔹 HDD not recognized in BIOS or Disk Management
🔹 Electrical burning smell after connecting drive
💡 Pro Tip: If the drive powers up and clicks, the issue is likely with the read/write heads or firmware – not the PCB. In such cases, a swap won’t help.
🧠 Is Swapping a PCB Enough to Recover Data?
Yes – and no. Simply swapping a PCB from another drive (called a donor drive) may not be enough. Modern hard drives store drive-specific adaptive data (such as ROM or firmware) on the PCB or even on a separate chip. This data must be transferred to the donor PCB for a successful recovery.
🧰 Tools You’ll Need (and Why)
Here’s what’s essential for a modern, safe PCB swap:

🛠️ Matching Donor Drive (same model, firmware and PCB number)
🛠️ Hot Air Rework Station or Soldering Iron (for BIOS chip transfer)
🛠️ Multimeter (to test for power and component integrity)
🛠️ Data Recovery Software (after successful physical recovery)
🛠️ Anti-static Mat & Gloves
✅ Step-by-Step: DIY PCB Swap

🔍 1. Identify the Drive Model and PCB Number
🔹 Find a donor drive with the exact match. Use model number, part number and PCB number.
🔬 2. Inspect the Original PCB
🔹 Look for burn marks or damaged components using a magnifier.
🔁 3. Transfer the BIOS/ROM Chip
🔹 Carefully desolder the BIOS chip from the original PCB and solder it onto the donor PCB.
🔗 4. Attach the New PCB
🔹 Reconnect the board and power up. If all goes well, the drive should spin and be recognized and use recovery software.
⚠️ Risks & Why It Might Fail
🔻 Wrong donor drive: Even slight firmware mismatches can prevent recovery.
🔻 Static damage: Touching components without ESD protection can fry your board.
🔻 BIOS chip damage: Improper soldering can permanently ruin the chip.
🔻 The issue isn’t the PCB: If heads or platters are damaged, swapping won’t help.
🧠 PCB Swap in 2026: Still Worth It?

With the rise of AI-powered data diagnostics and hybrid cloud backup strategies, fewer consumers rely solely on physical recovery. However, DIY PCB swaps remain a niche but powerful method—especially when:
🔸 You have a clear PCB failure
🔸 Data isn’t backed up to the cloud
🔸 You’re comfortable with basic electronics
🔚 Final Verdict: Should You Try It?
Only if you’re tech-savvy and understand the risks.
A PCB swap can absolutely recover data, but it’s not a guaranteed fix—and it’s easy to make irreversible mistakes.
For high-value or irreplaceable data, consult a professional data recovery lab. But for enthusiasts, students, or tech pros, it’s a rewarding challenge that can teach you a lot about how modern hard drives work.
📞 Contact Us – HDD Donor
Need help finding the right donor drive? Not sure which PCB matches your hard drive?

💬 We’re here to help! – HDD Donor specializes in providing tested, 100% compatible hard drive donor parts for DIY and professional data recovery.
🔍 Services We Offer:
🔸 PCB Matching & Identification Help
🔸 Pre-soldered Donor PCBs (with BIOS transfer upon request)
🔸 Rare HDD Models & Obsolete Part Sourcing
🔸 DIY Recovery Kits & Tools
🔸 Expert Advice for Your Specific Drive
Getting the right donor PCB the first time dramatically improves recovery success.


